This documents is intended for all web application software developers wanting
to make their web applications redistributable and installable by non-technical
users. The content of this guide
assumes that reader is familiar with the following topics:
Setting up a software store is something you do just once. Portal's web app store
is the place where your manage your application product lines and releases. Currently the process and the UI of
the Web App Store it's as bare-bones as it gets, but it will get upgraded as
everything else as we go forward.
Before your own store can be created, you will need to have an account with
HttpVPN Portal at
MyOwnSecureWeb.com. Once you have logged in, please click
My Account link and then
Manage My Software Store(s)
link. It will take you to the screen that briefly explains what web app store is and who should use
it:
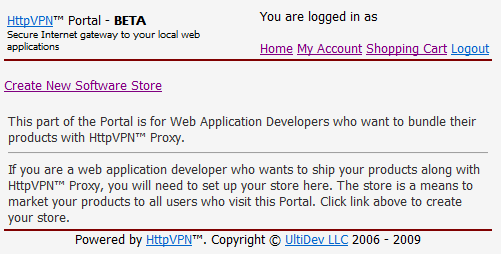
As you have guessed, click
Create New Software Store link.
At the "Web Application Store Details" page (it's
currently very simplistic and it will
certainly evolve), please enter either your
business name if you represent an organization, or your own name if you are a sole
proprietor, along with as much
information about you as a software vendor as
possible, including your web site address, contact
information, location, etc. Please don't try to
impersonate Microsoft, Google or anyone other than
yourself - fraud attempts will not be tolerated.
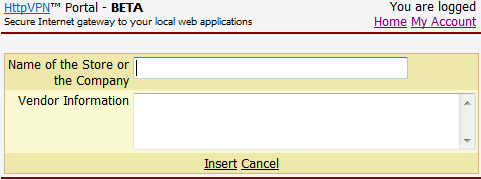
Click "Insert" link to create your web app store.
That will take you back to the store management
page where you can see your new store:
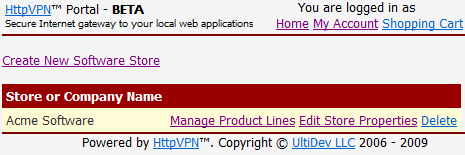
Aside from the obvious "Delete" link, you can see
"Edit Store Properties" and "Manage Product Lines" links for every store you have.
Right after the store was created, the only person who can manage it is you - the person who
created it. To grant more people privileges to manage
your store please click "Edit Store Properties" link on the screen shown above
- it will let you not only edit the store name and other
information, but it also
allows making other people store administrators. Simply click
"Invite..." link:
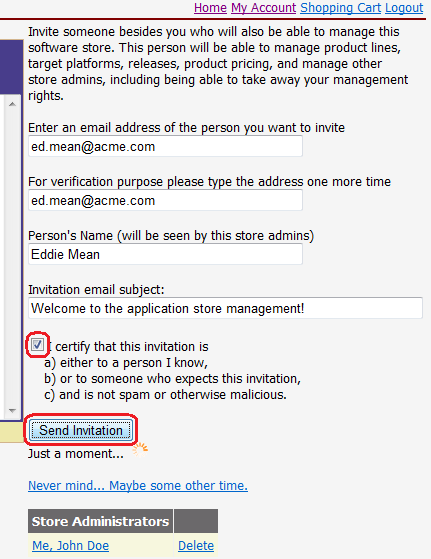
...fill out form's fields, and click "Send Invitation" button - it
will send an invitation email message.
After these changes, your app store details page
will look like this:
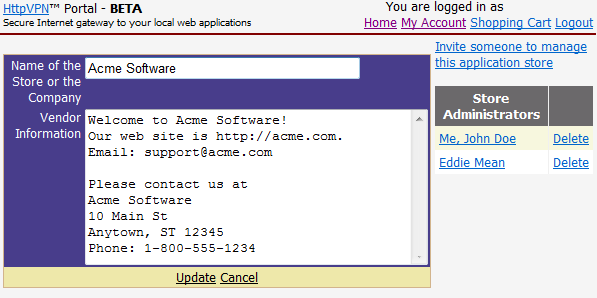
Now even if you are hit by a bus, someone will be
able to claim the money your app store has made. You
can click "Cancel" link to return to the app store
details page. Clicking Cancel won't lose your new app
store admin registration.

|